Top Tier Shoe Photography You Can Apply
Table of Contents
ToggleWhen it comes to photographing shoes, we are always missing out on the essentials, devaluing the photo. Shoe photography can never be fully perfect because we can always improve the shots!
Tips and Techniques of shoe photography
1) Use the right cameras and lenses
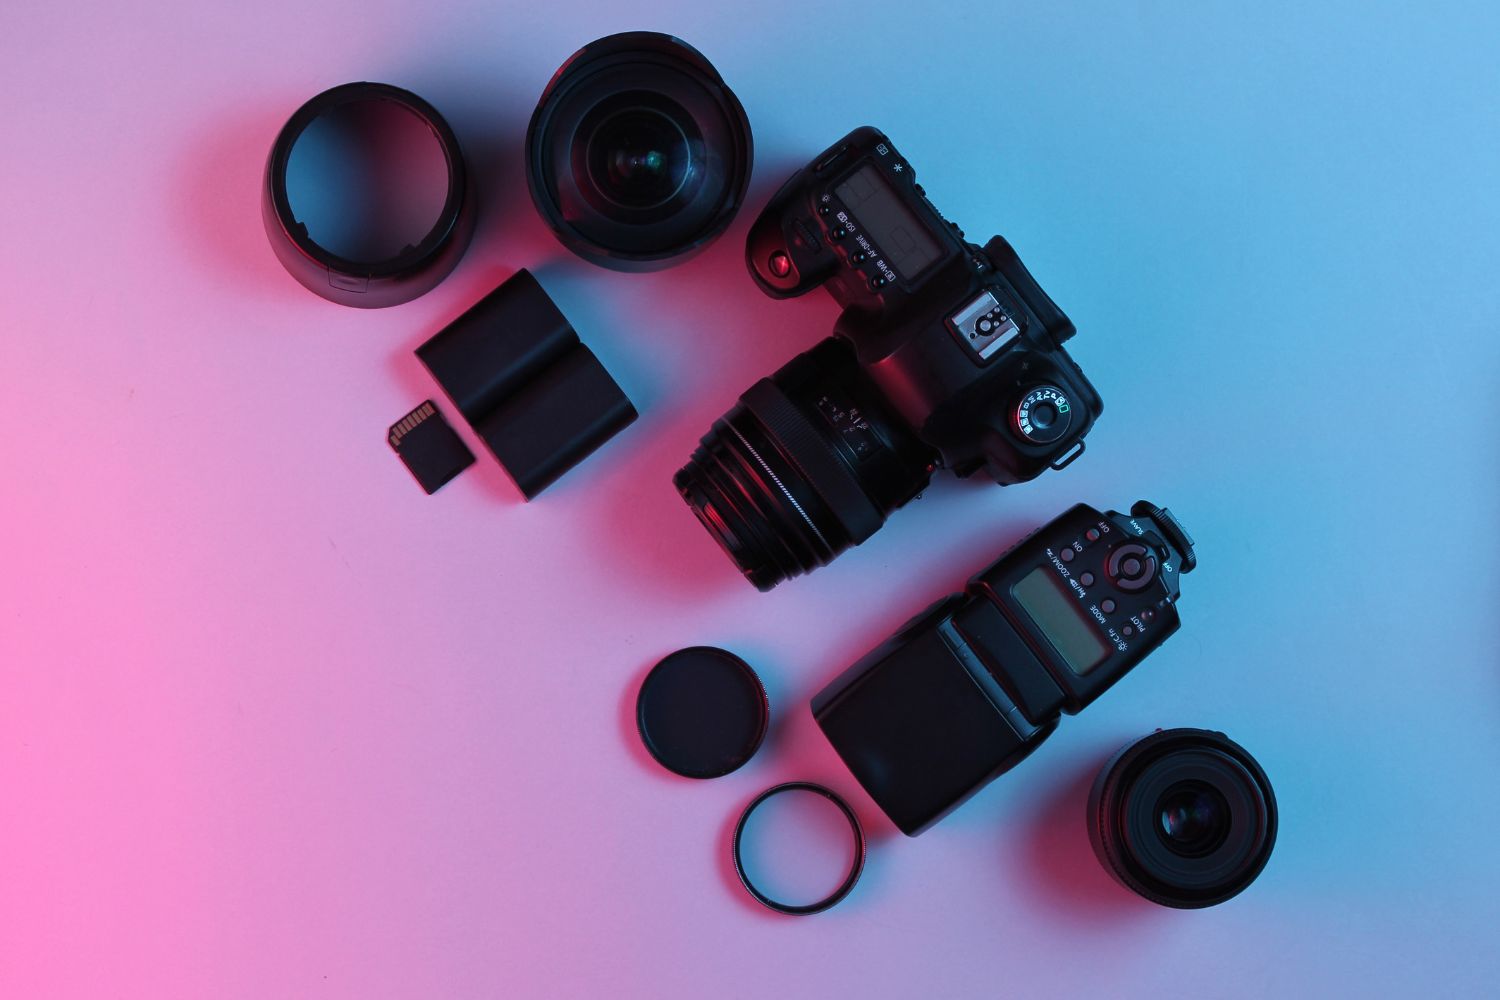
Choosing a lens that is above 15mm so you don’t distort the shoe. Reduce the ISO so you don’t get a noisy picture. If you are shooting in a studio, it’s better to use full-frame cameras without prime lenses. If you are shooting outdoors then it is suggested to use prime lenses with a sharp focus.
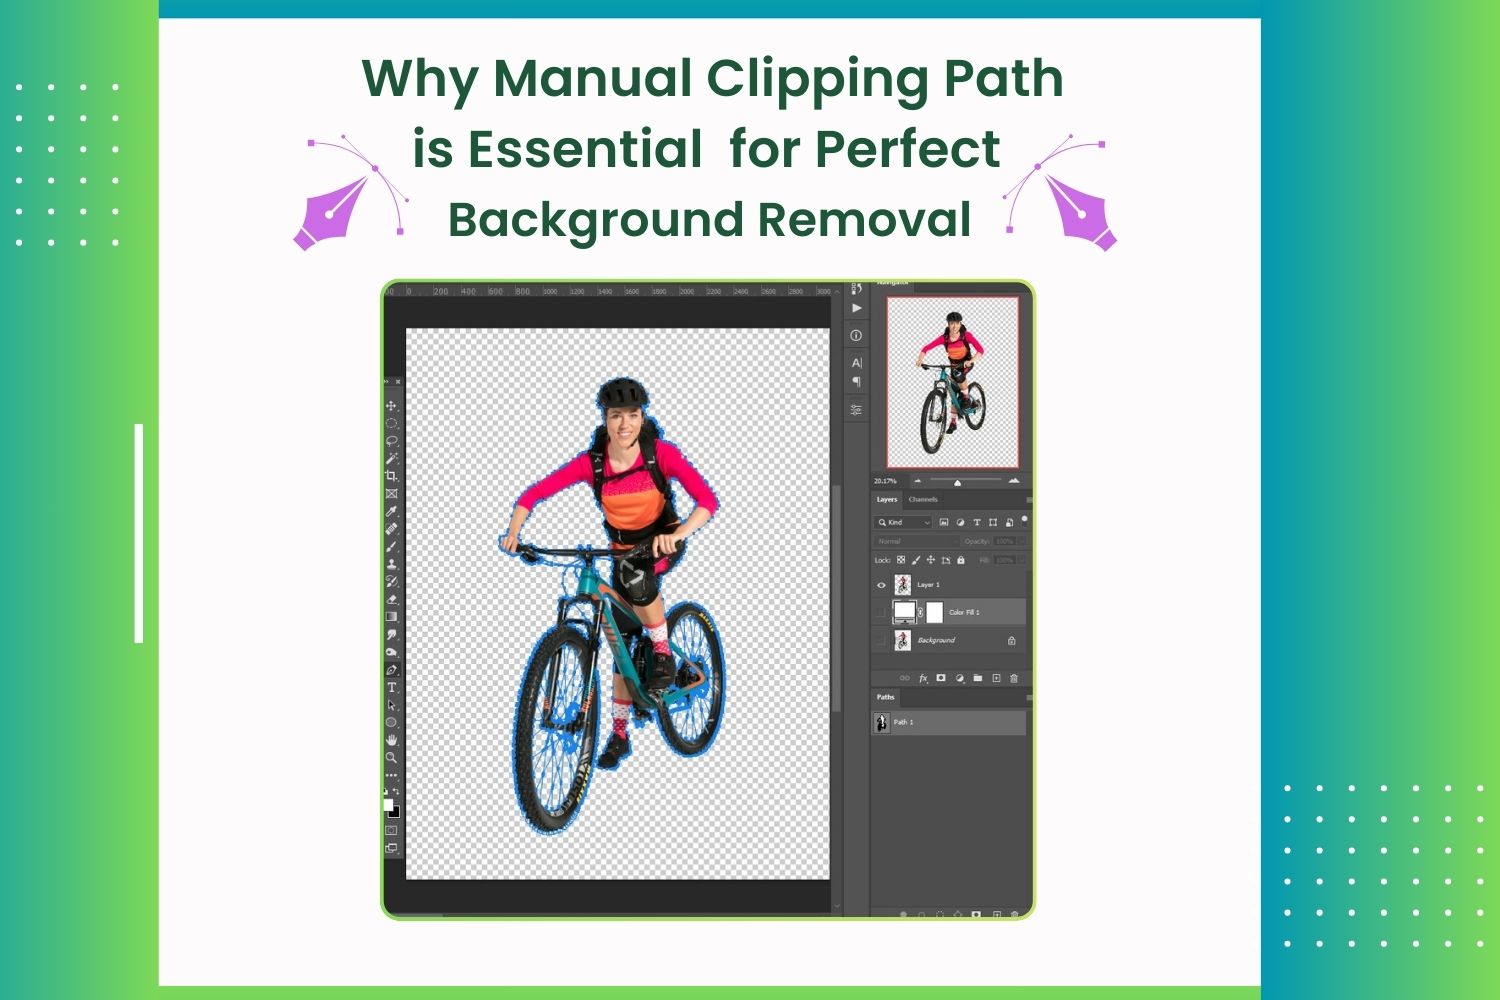
2) Post-processing or editing
Once you are done shooting the shoes, you will need to brush up on the color gradients of the photos. By doing this, you are making it look more natural and colorful.
3) Shoot from different angles
Firstly, start off with a single shoe placed sideways to show the profile of the shoe. For the rest of the angles, the most common is the three-quarter angle. This involves one whole shoe placed at an angle and another shoe partially peeking from behind it.
Then comes the back three-quarter angle. Similar to the previous angle, this angle covers the backside of the shoes from a certain angle.
4) Use the best lighting
When you place the shoes facing perpendicularly from the camera, you need to make sure the light is coming from both sides. This benefits you to have a meticulous shadow under the shoe. Though this depends on the variety of shoes that you shoot, it’s always a necessity for utmost lighting. This process is called contact lighting.
5) Choosing backgrounds wisely
The key to getting the “almost perfect” shot is to have a plain and solid colored background. Backdrops are the best for this if you don’t have a solid-colored wall or background. It is asserted to use white backgrounds for the most attractive photo. If your shoes have white soles or white canvas then use black backdrops for capturing the details.
6) Shoot with Models
Ever noticed shoe promotional photos with models wearing them? That is a great way of getting customers hooked. The benefit of using models is the customers can judge whether the shoes are a fit or not. Using models for photoshoots increases gaining attention as it is now more realistic.

8) Capture action moments
For this technique, make a model wear the shoes and make them walk, run, and jump on little puddles of water. Capture these action moments with the lowest shutter speed on your camera. Shooting action moments like these sets you apart from other photographers in capturing practical situations like these.

9) Attention to details
When you are shooting, you need to set a clear focus first. Avoid shooting in low light as the details of this compromise. Try taking a few close-up shots of the shoes using wide-angle lenses or use the aperture-priority mode in your camera. People tend to find detailed pictures tremendously attractive for their aesthetics.
The tips mentioned above can go with any kind of product photography if you have the right equipment. One of the most eye catchy ways of shooting a product is to use 360-degree shots.
You will only need a zoom lens, a tripod, a turntable, and a proper lighting system. Just place the product on the turntable, adjust the lighting and cameras and record a video clip of the rotating table.
What not to do during photo shooting shoes.
1) Laying shoes flat
You don’t want your shoes to look dead by laying them flat on the floor. Rather place them in such a position that creates an illusion as if they are worn by someone. This makes the photos appeal more lively as it catches the audience’s reaction.
2) Using intensive lighting
Ruining the color tone of your product is the last thing you’d do. This is done when the light intensity is too harsh for the product. When this happens, your footwear appears to be too exposed to lighting degrading the colors.
3) Using soft focus
The MORE out of focus your product is, the FEWER customers it is gonna get. When customers are not able to see the product properly, they automatically lose interest. This is why you need to use a higher aperture on your camera.
4) Not removing shadows
Although using shadows in the photos makes them look more realistic, this negatively changes the focus of the audience. It is best suggested to avoid all sorts of shadows during the shoot. If you are not able to avoid shadows, use editing applications to make it work.
Always remember that attention to detail is what makes the pictures the most attractive. close-up shots are the ones that make your picture the most credited for bringing out the real clarity of the product.


